Limited Time Offer!
For Less Than the Cost of a Starbucks Coffee, Access All DevOpsSchool Videos on YouTube Unlimitedly.
Master DevOps, SRE, DevSecOps Skills!
YouTube is one of the most powerful platforms for businesses today. Whether you want to showcase your expertise, promote your products, or engage with potential customers, having a professional YouTube channel can be a game-changer.
With over two billion active users, YouTube offers a huge opportunity to grow your brand and connect with your audience in a more personal way. If you’re wondering how to create a YouTube channel for your business, this guide will take you through the entire process step by step.
Step 1: Create a YouTube Channel for Your Business
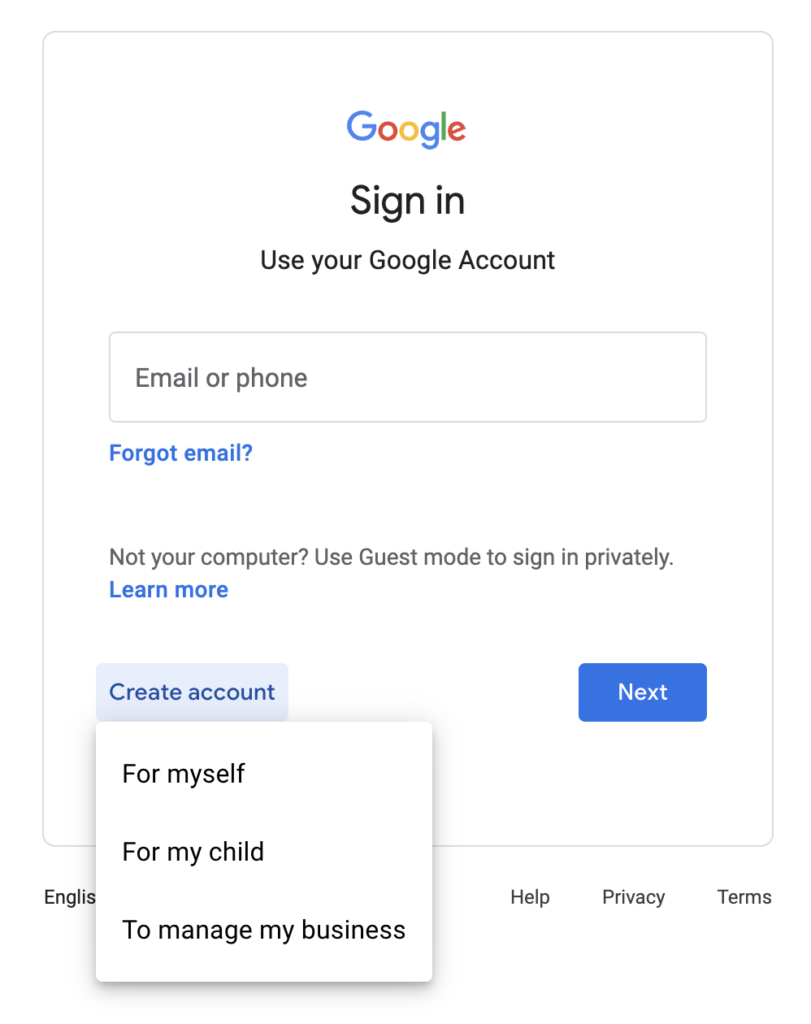
Before you can upload videos, you need to set up your YouTube channel. Since YouTube is owned by Google, you will need a Google account to create a channel. If you already have a Google account for your business, you can use that. Otherwise, it’s best to create a new one specifically for your business.
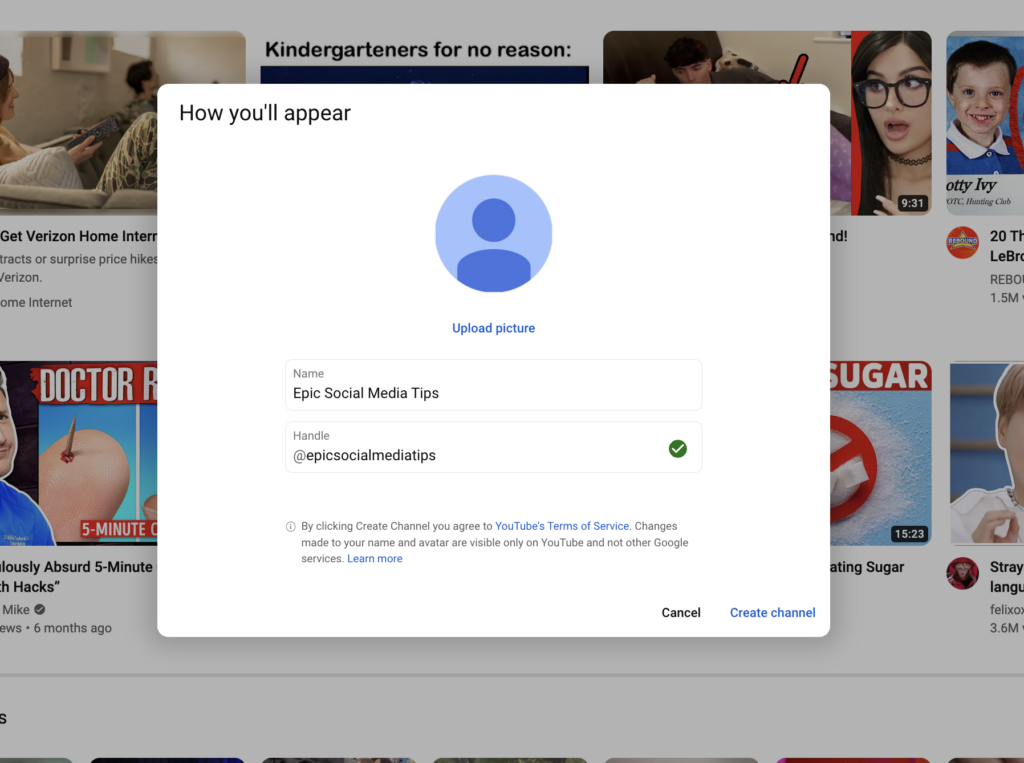
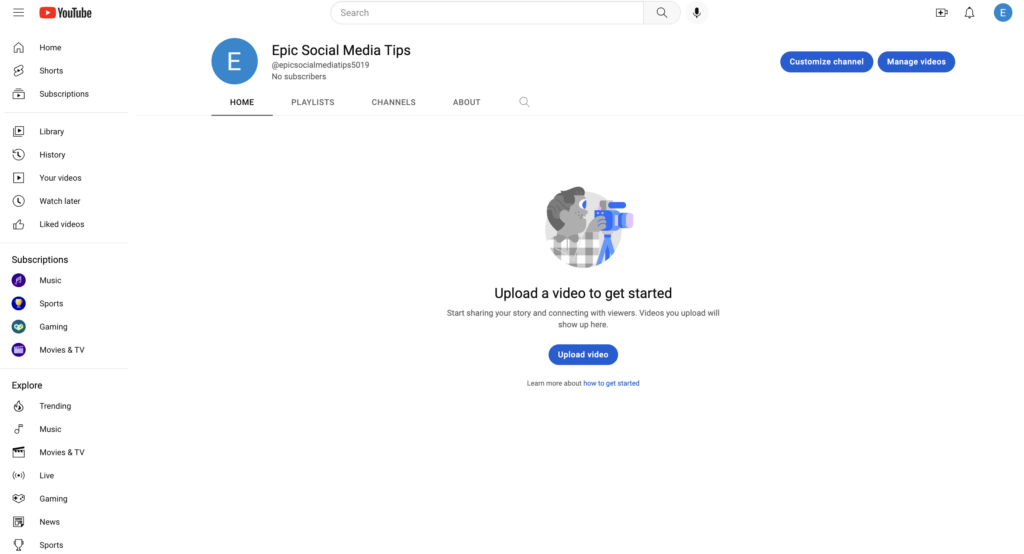
To create your channel, go to YouTube.com and sign in with your Google account. Click on your profile picture in the top right corner, then select “Create a Channel.” You will be given the option to use your personal name or a custom business name. Choosing a custom name is usually the best option for businesses.
Once you enter your business name, click “Create,” and your channel will be live. Now it’s time to customize it to make it look professional.
Step 2: Customize Your YouTube Channel
Your YouTube channel should reflect your brand identity and make a strong first impression on visitors.
Start by adding a profile picture. If you have a business logo, this is the best choice, as it helps with brand recognition. The recommended size for a YouTube profile picture is 800 by 800 pixels.
Next, add a banner image, also known as channel art. This appears at the top of your channel and is a great way to highlight your brand’s message, tagline, or even an upcoming event. A well-designed banner makes your channel look more polished and professional. The recommended dimensions for a YouTube banner are 2560 by 1440 pixels.
Now, go to the “About” section of your channel and write a compelling description. This should include a short summary of what your business does, what kind of content people can expect from your channel, and why they should subscribe. If possible, add relevant keywords to help your channel show up in search results.
At the bottom of the “About” section, you can also add links to your website, social media profiles, or contact details. These links will appear as clickable buttons on your banner, making it easy for viewers to find more information about your business.
Step 3: Adjust Your YouTube Channel Settings
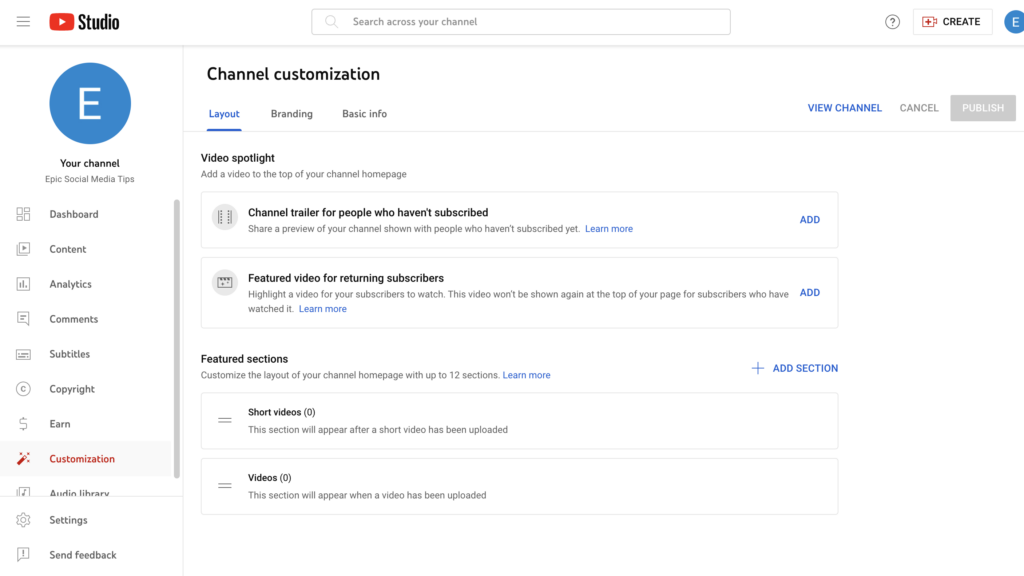
To unlock advanced features on your YouTube channel, go to YouTube Studio and click on “Settings.” Under “Feature Eligibility,” verify your account with your phone number. This allows you to upload longer videos, create custom thumbnails, and even go live on YouTube.
Once your channel reaches one hundred subscribers, you can customize your channel URL to make it easier to share. Instead of a long string of random characters, you can have a simple URL like youtube.com/YourBusinessName.
Step 4: Plan Your YouTube Content Strategy
Before uploading videos, take some time to plan your content strategy. Think about who your target audience is and what kind of videos they would find useful or entertaining.
There are many different types of videos businesses can create. Some of the most popular formats include tutorials, product demonstrations, behind-the-scenes content, interviews with industry experts, customer testimonials, and educational content that provides valuable insights.
It’s also a good idea to create a content calendar to keep your uploads consistent. Posting regularly, whether it’s once a week or twice a month, helps keep your audience engaged and improves your visibility on YouTube.
Step 5: Upload Your First Video
Once you have planned your content, it’s time to create and upload your first video. If you’re filming with a smartphone, make sure to use good lighting and a high-quality microphone for clear audio. If you’re using a professional camera, ensure the settings are adjusted properly for the best picture quality.
After recording, you may need to edit your video to make it more polished. There are many free and paid video editing tools available, such as Adobe Premiere Pro, Final Cut Pro, iMovie, and Canva.
When uploading your video to YouTube, write a title that is clear, engaging, and includes relevant keywords. The description should include a summary of the video, along with links to your website, social media, or any related resources. Adding timestamps can also help viewers navigate your content more easily.
Custom thumbnails can make a huge difference in attracting viewers. Instead of using a random frame from the video, design a high-quality thumbnail with bold text and eye-catching visuals to make it stand out. The recommended size for thumbnails is 1280 by 720 pixels.
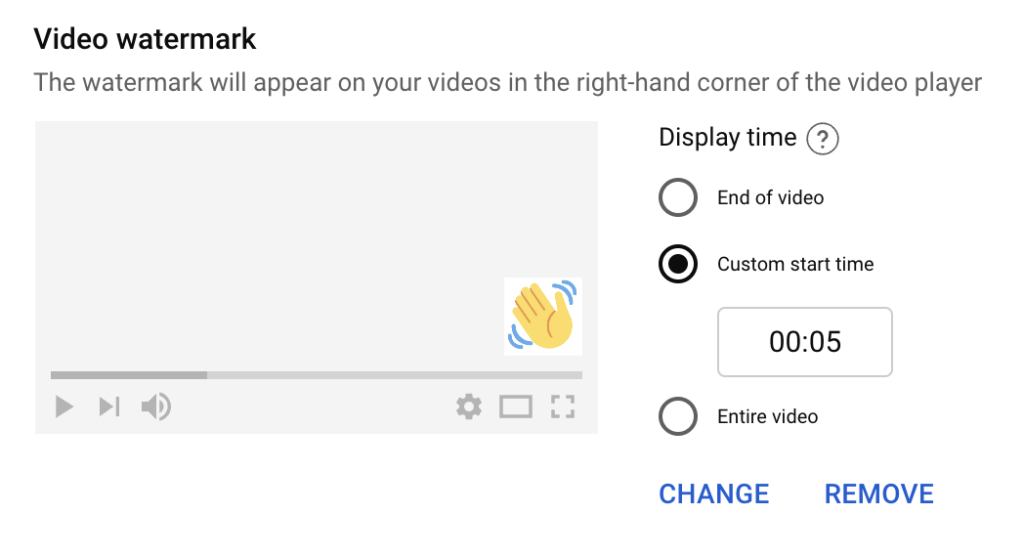
After uploading, you can also add cards and end screens to encourage viewers to watch more of your content. Cards are small interactive links that appear during the video, while end screens are displayed at the end and can direct viewers to other videos or your website.
Step 6: Promote Your YouTube Channel
Creating great content is just the first step. To grow your channel, you need to actively promote it.
Start by sharing your videos on your website, blog, and social media platforms like Facebook, Instagram, LinkedIn, and Twitter. If you have an email list, send out a newsletter with a link to your latest video.
Engaging with your audience is also crucial. Reply to comments on your videos, ask viewers to subscribe, and encourage them to like and share your content. The more engagement your videos receive, the more likely they are to be recommended by YouTube’s algorithm.
Another effective strategy is collaborating with other YouTubers or industry experts. This helps expose your channel to a wider audience and builds credibility.
Step 7: Analyze Your Performance with YouTube Analytics
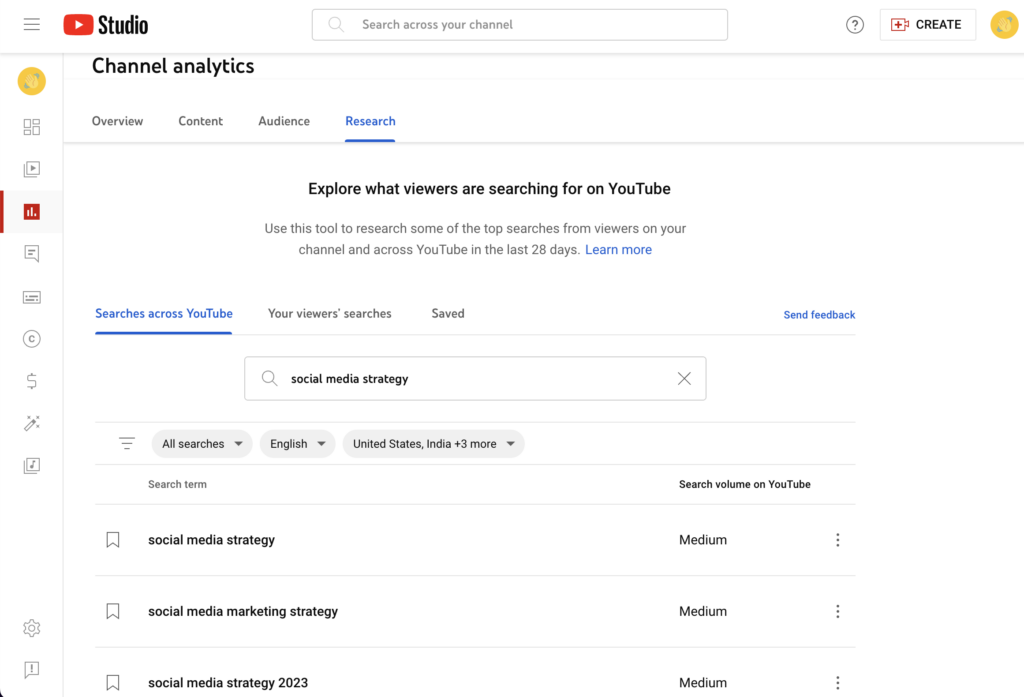
Once you start uploading videos, regularly check your analytics to see how your content is performing. In YouTube Studio, you can track important metrics such as watch time, views, likes, comments, and audience retention.
Pay attention to which videos get the most engagement and try to understand why. This can help you refine your content strategy and create more videos that your audience enjoys.
YouTube also shows you where your traffic is coming from, whether it’s from YouTube search, suggested videos, or external sources like social media. Understanding these insights allows you to adjust your marketing efforts for better results.
Step 8: Monetize Your YouTube Channel (Optional)
If you plan to generate revenue from your channel, YouTube offers several ways to monetize your content. Once you reach one thousand subscribers and four thousand watch hours within the past twelve months, you can apply for the YouTube Partner Program. This allows you to earn money through ad revenue.
their monetization options include brand partnerships, sponsorships, affiliate marketing, and selling your own products or services.