Limited Time Offer!
For Less Than the Cost of a Starbucks Coffee, Access All DevOpsSchool Videos on YouTube Unlimitedly.
Master DevOps, SRE, DevSecOps Skills!
In today’s digital world, having a well-optimized Facebook Page is crucial for businesses, influencers, and communities. Whether you’re launching a brand, promoting a service, or building a community, a properly set-up Facebook Page helps you connect with your audience effectively.
If you’re unsure where to start, don’t worry! This step-by-step guide will walk you through everything you need to know about setting up and configuring your Facebook Page Profile like a pro.
Step 1: Create Your Facebook Page
Before you configure your profile, you first need to create a Facebook Page. Here’s how:
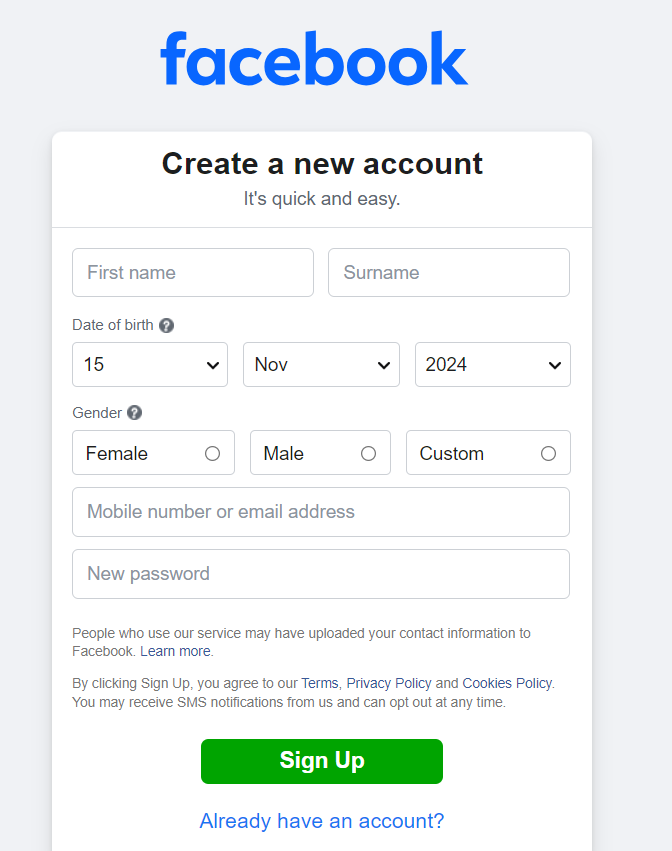
1️⃣ Log in to Facebook: Open Facebook and sign in to your account.
2️⃣ Go to ‘Pages’: Click on the Menu (☰) button in the top right corner and select Pages.
3️⃣ Click on ‘Create New Page’: You’ll be redirected to a setup page.
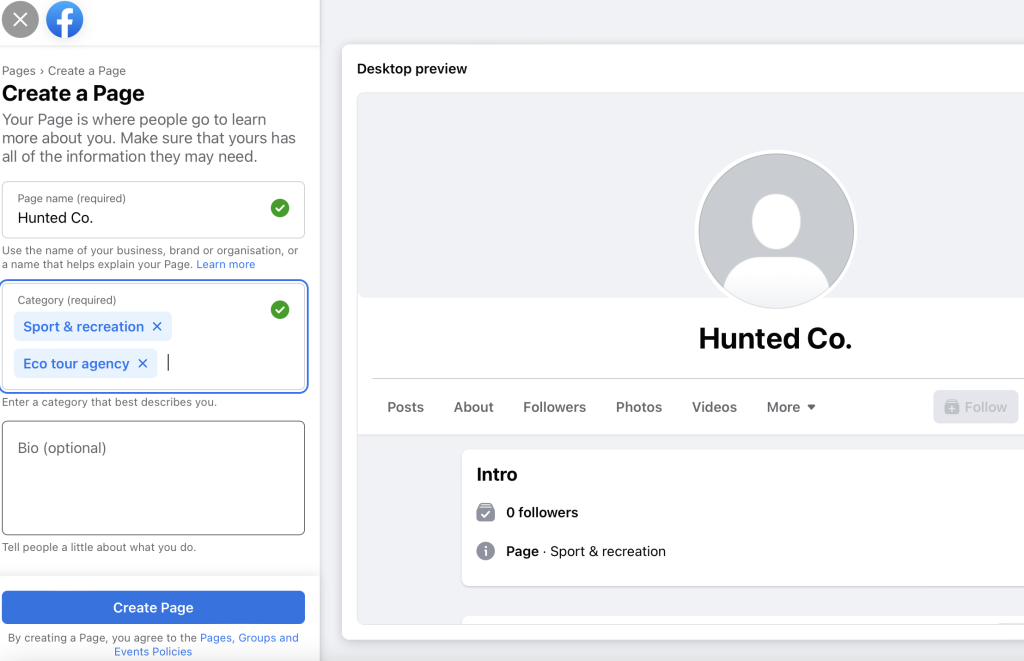
4️⃣ Enter the Page details:
- Page Name – Choose a name that reflects your brand or purpose (e.g., “John’s Bakery” or “Digital Marketing Experts”).
- Category – Select the most relevant category for your page. Facebook suggests options as you type. (e.g., Business, Blogger, Consultant, Local Store).
- Bio – Write a short and engaging description of what your page is about (maximum 255 characters).
✅ Click ‘Create Page’ when you’re done.
🎉 Congratulations! Your Facebook Page is now live. But that’s just the beginning—let’s make it look professional!
Step 2: Add a Profile and Cover Photo
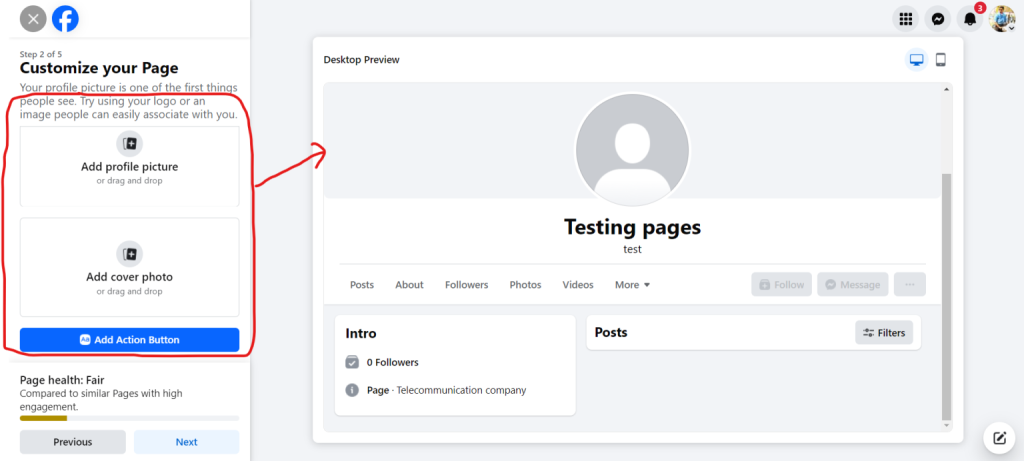
Now that your page is up, it’s time to make it visually appealing with professional-looking images.
1. Upload a Profile Picture
- Click on the profile picture area and select Upload Photo.
- Your profile picture should be clear, high-quality, and easily recognizable (e.g., your logo, your face if you’re an influencer, or a relevant image for your brand).
- Recommended size: 180 x 180 pixels (Facebook automatically resizes it).
💡 Pro Tip: If you’re a business, use your logo as a profile picture. If you’re a public figure, use a high-quality headshot.
2. Add a Cover Photo or Video
- Click on the cover photo section and select Upload Cover Photo.
- Your cover photo should visually represent your brand, whether it’s a stunning product image, a behind-the-scenes workplace photo, or a promotional banner.
- Recommended size: 820 x 312 pixels (for desktop) and 640 x 360 pixels (for mobile).
💡 Bonus Tip: You can also upload a short cover video (20–90 seconds) to make your page more engaging!
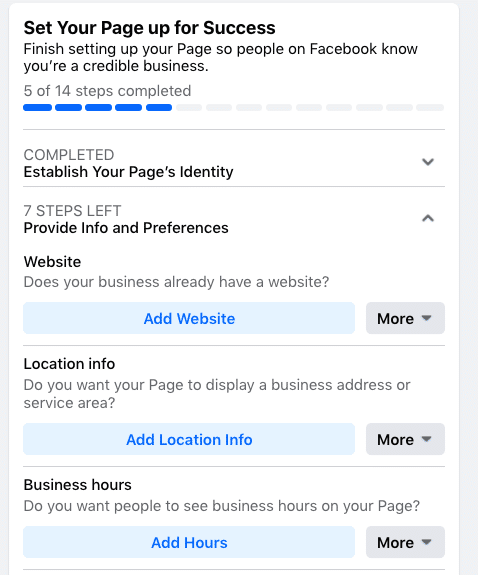
Step 3: Complete Your ‘About’ Section
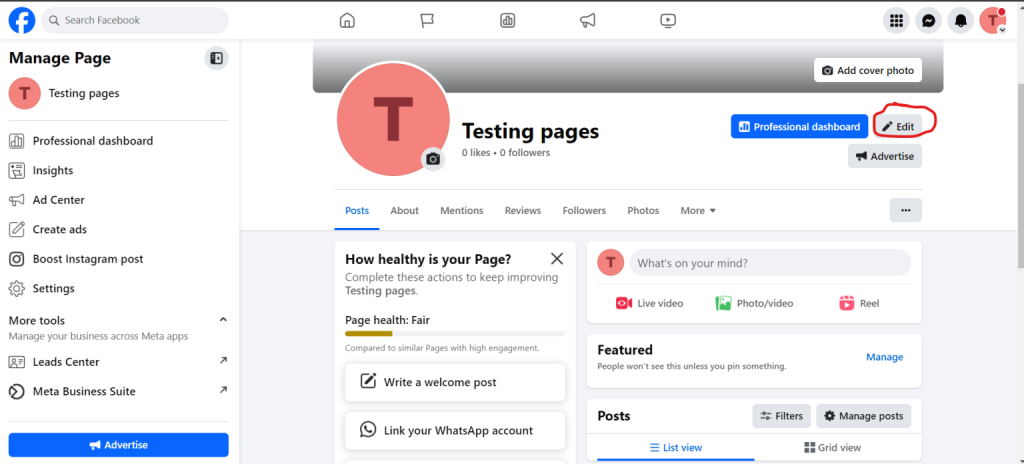
A well-filled About section tells visitors exactly what your page is about.
🔹 Go to “Edit Page Info” from the left sidebar.
🔹 Fill in the following details:
- Description – Add a short but compelling overview of what your business does.
- Contact Info – Include an email address, phone number, and website (if applicable).
- Location – If you have a physical store or office, add your address so customers can find you easily.
- Business Hours – If you’re offering services, add working hours to let customers know when you’re available.
💡 Pro Tip: The more details you add, the easier it is for people to trust your page.
Step 4: Create a Username (Page Handle)
A username (also known as a Page Handle) makes it easier for people to find and tag your page.
📌 Example: Instead of sharing a long URL like facebook.com/pages/123456789
✅ You can have facebook.com/YourBrandName
How to Set Up a Username:
1️⃣ Click on the @Username section below your Page name.
2️⃣ Type your preferred username (e.g., @JohnsBakery or @DigitalMarketingExperts).
3️⃣ If it’s available, click Create Username.
💡 Keep it short, relevant, and easy to remember.
Step 5: Add a Call-to-Action (CTA) Button
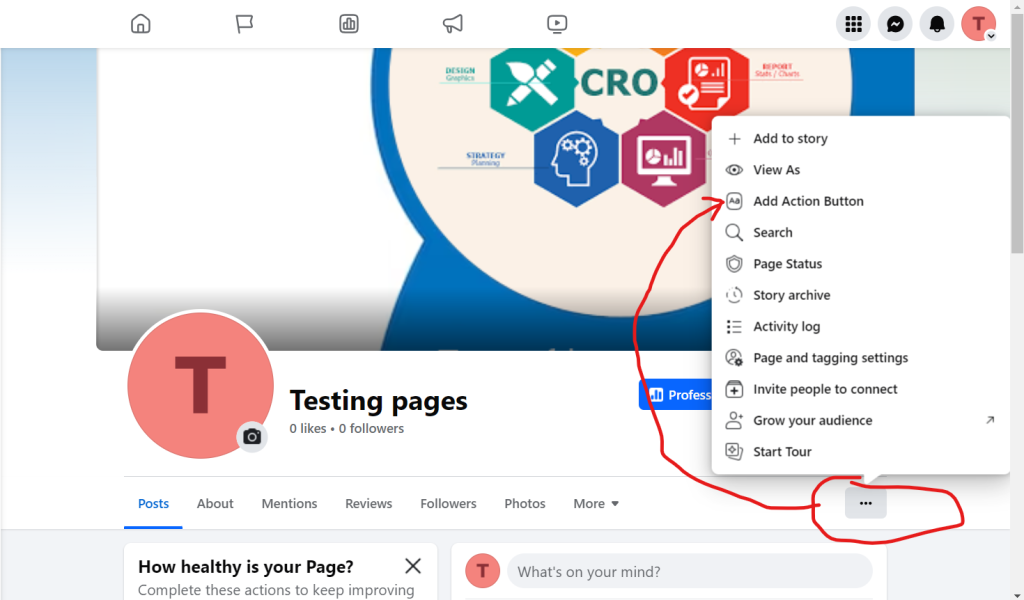
A Call-to-Action (CTA) button helps visitors take action on your page, such as contacting you, visiting your website, or booking a service.
🔹 Click “Add Button” below the cover photo.
🔹 Choose an action like:
- Contact Us – Directs users to your contact form.
- Shop Now – Links to your online store.
- Book Now – If you’re in the service industry, this is perfect for scheduling appointments.
- Sign Up – Directs users to your email newsletter or membership signup page.
💡 Pro Tip: If you’re an online store, link the button to your e-commerce site to drive sales.
Step 6: Customize Your Tabs
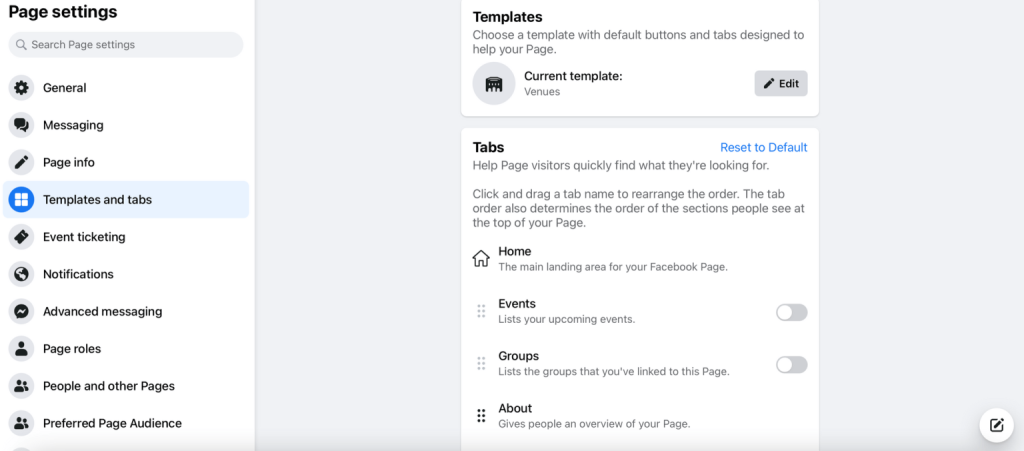
Facebook allows you to add custom tabs based on what’s important for your business.
How to Edit Tabs:
1️⃣ Go to Settings → Templates and Tabs.
2️⃣ Enable or disable tabs that matter (e.g., Photos, Reviews, Services, Shop).
3️⃣ Drag and reorder the tabs as per priority.
💡 Example: If you’re a restaurant, keep the Menu tab at the top. If you’re a consultant, prioritize Services.
Step 7: Enable Messaging for Quick Replies
💬 Customers often reach out via Facebook Messenger. Make sure your page is responsive to messages.
How to Set Up Auto-Replies:
1️⃣ Go to Settings → Messaging.
2️⃣ Turn on “Show a greeting” – This sends a welcome message when someone visits your page.
3️⃣ Enable Instant Replies – You can set an automatic response like:
- “Thanks for reaching out! We’ll reply soon.”
💡 Bonus Tip: If you’re a local business, add a WhatsApp number for direct communication.
Step 8: Verify Your Page (Optional but Recommended)
A verified Facebook Page builds credibility and helps people trust your business.
🔹 Go to Settings → General → Page Verification.
🔹 Click “Verify this Page” and choose one of the following:
✅ Phone Verification – Facebook will call your business number and give you a verification code.
✅ Document Verification – Upload an official business document to verify your identity.
💡 A verified page gets better visibility in search results!
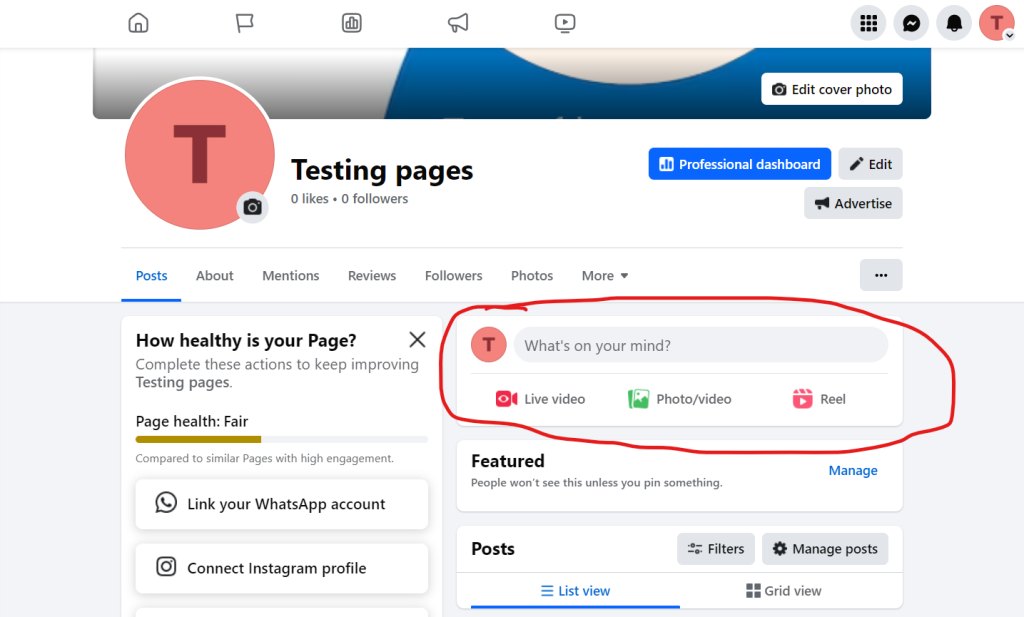
Step 9: Start Posting Content
Now that your page is fully set up, it’s time to engage your audience!
📢 Post High-Quality Content Regularly:
✔ Images & Videos – Posts with visuals get more engagement.
✔ Polls & Questions – Engage your audience and get feedback.
✔ Behind-the-Scenes Stories – Make your brand feel more personal.
💡 Pro Tip: Use Facebook Stories and Reels to boost engagement.
Step 10: Promote Your Page
📌 Share Your Page Everywhere:
- Invite friends to like and follow your page.
- Promote it on your website, emails, and other social media platforms.
- Run Facebook Ads to reach a wider audience.
🚀 And that’s it! Your Facebook Page is now set up and ready to grow!